Want to bring your static images to life? Leonardo AI image animation is revolutionizing how creators transform still pictures into captivating moving visuals. This powerful AI tool lets you animate any image with just a few clicks, creating stunning motion effects that would traditionally require expensive software and technical expertise. Whether you're a content creator, marketer, or just someone who loves experimenting with AI tools, learning how to animate images in Leonardo AI will unlock endless creative possibilities for your projects.
What Makes Leonardo AI Animation Special

Leonardo AI stands out from other AI animation tools because of its intuitive interface and impressive results. Unlike traditional animation software that requires hours of keyframe setup, Leonardo AI uses advanced machine learning to predict natural movement patterns in your images.
The platform excels at understanding depth, lighting, and object relationships within your images. This means when you animate a portrait, the hair moves naturally, clothing flows realistically, and facial expressions transition smoothly. It's like having a professional animator working behind the scenes!
Step-by-Step Guide to Animate Your Images
Step 1: Upload Your Image to Leonardo AI
First things first - you need to get your image into the platform. Log into your Leonardo AI account and navigate to the animation section. Click the upload button and select your image file. The platform supports most common formats including JPG, PNG, and WebP files up to 10MB.
Pro tip: Images with clear subjects and good contrast work best. Avoid overly busy backgrounds or extremely low-resolution photos as they can confuse the AI's motion detection algorithms.
Step 2: Choose Your Animation Style
Leonardo AI offers several animation presets to choose from. You'll see options like "Gentle Motion," "Dynamic Movement," "Cinematic," and "Artistic Flow." Each preset applies different motion characteristics to your image.
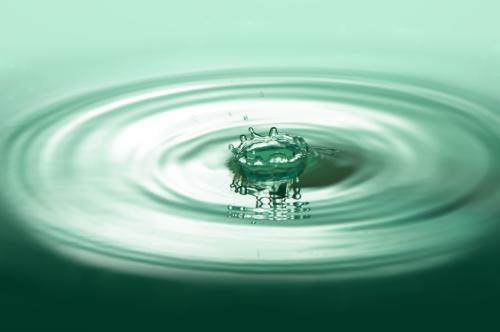
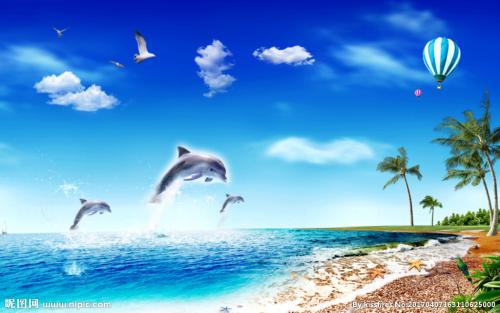
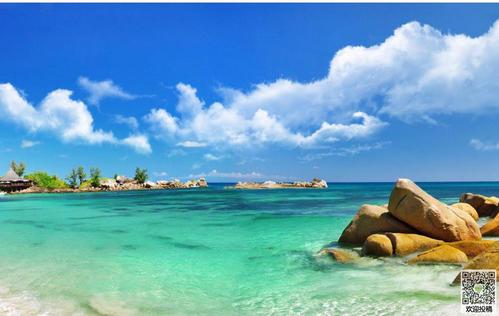
For portraits, "Gentle Motion" works beautifully for subtle hair movement and breathing effects. "Dynamic Movement" is perfect for landscape shots where you want clouds drifting or water flowing. Take a moment to preview each style - you can always change it later!
Step 3: Adjust Motion Intensity Settings
This is where you fine-tune your Leonardo AI animation. Use the intensity slider to control how much movement appears in your final video. Lower settings (1-3) create subtle, realistic motion, while higher settings (7-10) produce more dramatic, stylized effects.
You can also adjust the motion direction if the AI doesn't automatically detect it correctly. For example, if you want hair to flow to the left instead of right, simply adjust the directional controls.
Step 4: Set Duration and Quality Parameters
Choose how long you want your animated sequence to be. Most Leonardo AI animations work best between 3-8 seconds for social media use. Longer animations are possible but may take more processing time.
Select your output quality - "Standard" for quick previews and social media, "High" for professional presentations, or "Ultra" for the highest quality exports. Remember that higher quality means longer processing times!
Step 5: Preview and Generate Your Animation
Before committing to the full render, use the preview function to see a quick version of your animation. This helps you catch any issues early and make adjustments without wasting credits.
Once you're happy with the preview, hit the "Generate" button. Processing time varies based on image complexity and quality settings, typically ranging from 30 seconds to 5 minutes.
Step 6: Download and Share Your Creation
After processing completes, you'll see your finished animated image ready for download. Leonardo AI provides multiple export formats including MP4 for video platforms, GIF for web use, and high-quality MOV files for professional editing.
The platform also offers direct sharing options to popular social media platforms, making it easy to showcase your creations immediately.
Best Practices for Leonardo AI Animation
Choosing the Right Source Images
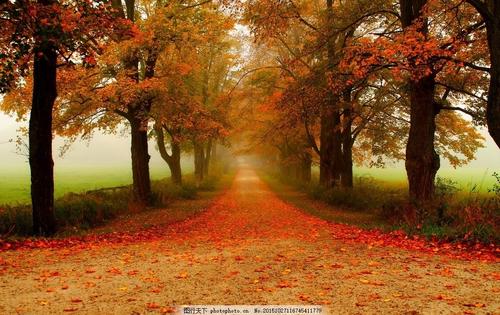
Not all images animate equally well. Leonardo AI works best with images that have clear focal points and natural elements that suggest movement. Portraits with flowing hair, landscapes with clouds or water, and scenes with fabric or vegetation tend to produce the most impressive results.
Avoid images with too much text overlay, as the AI might try to animate the letters, creating unwanted distortion effects.
Optimizing for Different Platforms
Different social media platforms have varying requirements for animated content. Instagram Stories work well with vertical 9:16 animations, while LinkedIn prefers horizontal formats. TikTok loves dynamic, eye-catching motion that grabs attention quickly.
Consider your end platform when setting up your animation parameters. Quick, punchy animations work better for platforms with short attention spans, while longer, more subtle animations suit professional contexts.
Common Issues and Solutions
When Animations Look Unnatural
Sometimes your Leonardo AI animation might produce unexpected results. If movement looks too aggressive or unnatural, try reducing the motion intensity or switching to a gentler animation preset.
For portraits, ensure the face is clearly visible and well-lit in your source image. The AI relies on facial recognition to create realistic movement patterns.
Dealing with Processing Errors
If your animation fails to process, check your image file size and format. Very large files or unusual formats might cause issues. Try resizing your image to under 5MB and converting to JPG format if problems persist.
Advanced Tips for Professional Results
Want to take your Leonardo AI animations to the next level? Try combining multiple animated elements in video editing software. You can create layered compositions where different parts of your scene move independently.
Consider the lighting in your source images - dramatic lighting with clear shadows often produces more convincing animation effects. The AI uses these visual cues to understand depth and create more realistic movement.
Frequently Asked Questions
How much does Leonardo AI animation cost?
Leonardo AI operates on a credit system. Basic animations typically cost 5-10 credits, while high-quality, longer animations might use 15-25 credits. The platform offers both free tiers with limited credits and paid plans for heavy users.
Can I animate any type of image?
While Leonardo AI can process most images, results vary significantly based on content. Photos with clear subjects, good lighting, and natural elements that suggest movement work best. Abstract art or heavily stylized images might not animate as convincingly.
What file formats does Leonardo AI support?
The platform accepts JPG, PNG, WebP, and most common image formats. Output options include MP4, GIF, and MOV formats, giving you flexibility for different use cases.
How long does animation processing take?
Processing time depends on image complexity, animation length, and quality settings. Simple animations typically process in 30-60 seconds, while complex, high-quality animations might take 3-5 minutes.
Can I use Leonardo AI animations commercially?
Yes, animations created with Leonardo AI can be used for commercial purposes, but always check the current terms of service. Some restrictions might apply to certain types of commercial use or high-volume applications.
Leonardo AI image animation opens up incredible creative possibilities for anyone looking to add motion to their visual content. From social media posts that stop the scroll to professional presentations that captivate audiences, this tool democratizes animation creation like never before. The key to success lies in choosing the right source images, understanding the various settings, and experimenting with different animation styles. As AI technology continues evolving, tools like Leonardo AI are making sophisticated creative techniques accessible to everyone, regardless of technical background. Start with simple projects, learn the platform's strengths, and gradually work towards more complex animations as you build confidence with the tool.