Ever dreamed of creating your own talking robot but thought it was too complicated? The truth is, with the right tools and guidance, How To Make A Talking Robot At Home Easy is entirely possible—even for beginners! This guide will walk you through a simple, cost-effective method using accessible components like Arduino, Raspberry Pi, or even a smartphone. Whether you're a hobbyist, a student, or just curious about AI robotics, this tutorial will help you bring your talking robot to life in no time.
Why Build a Talking Robot at Home?
Before diving into the steps, let's explore why making a talking robot is such an exciting project:
Educational Value: Learn about robotics, programming, and AI integration
Customization: Create a robot with unique personality and responses
Cost-Effective: Much cheaper than buying a pre-made talking robot
Fun Project: Perfect for STEM education or just personal enjoyment
Materials You'll Need
Here's what you'll need for this talking robot project:
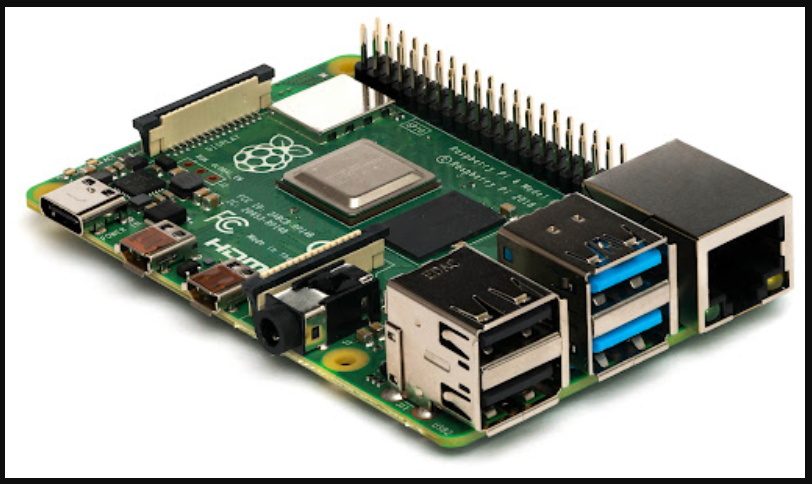
Raspberry Pi (Model 3B+ or higher recommended)
Microphone and speaker (USB or 3.5mm jack)
Servo motors (for movement, optional)
Robot chassis or body (can be 3D printed or repurposed materials)
Power bank or battery pack
Basic electronic components (wires, resistors, breadboard)
Step-by-Step Guide: How To Make A Talking Robot At Home Easy
Step 1: Choose Your Platform
Decide whether you want to use:
Raspberry Pi (more customizable, requires programming)
Arduino (simpler but less AI capability)
Smartphone (easiest option, uses existing microphone/speaker)
Step 2: Set Up Voice Recognition
For Raspberry Pi:
Install Python and necessary libraries (SpeechRecognition, PyAudio)
Configure Google Speech API or offline alternatives like PocketSphinx
Test microphone input with simple voice commands
Step 3: Program Responses
Create a basic response system:
if "hello" in command:
    robot.say("Hello there! How are you today?")
elif "time" in command:
    robot.say("The current time is " + current_time)
Step 4: Add Text-to-Speech
Use these options:
Google Text-to-Speech (online, high quality)
eSpeak (offline, robotic but functional)
Amazon Polly or IBM Watson (premium options)
Step 5: Assemble the Physical Robot (Optional)
If you want movement:
Attach servo motors to your chassis
Connect to your controller (Raspberry Pi/Arduino)
Program simple movements that sync with speech
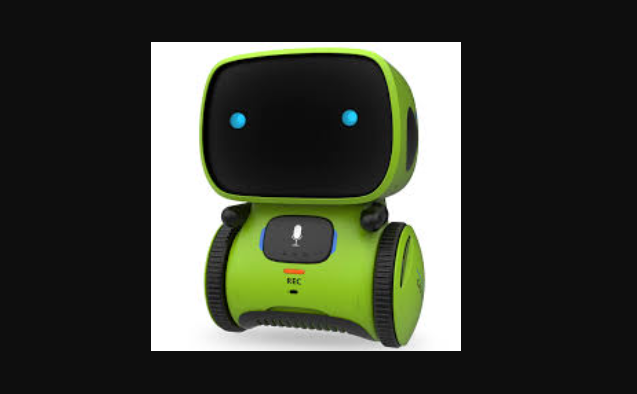
From Sci-Fi to Reality: The Talking Robot Dogs
Advanced Customization Ideas
Once you've mastered the basics, try these enhancements:
Add facial recognition using a camera module
Integrate with smart home devices
Create custom personality traits and humor
Add LED expressions for more emotional responses
Frequently Asked Questions
Q: How much does it cost to make a talking robot at home easy?
A: The basic version can cost as little as $50 using a Raspberry Pi and simple components. The smartphone version is essentially free if you already own a smartphone.
Q: Do I need to know programming to make a talking robot?
A: Basic Python knowledge is helpful but not required. Many tutorials provide ready-to-use code snippets you can modify.
Q: How can I make my robot sound more natural?
A: Use premium text-to-speech services like Google's WaveNet or Amazon Polly for more human-like voices. Adding slight delays and varied responses also helps.
Troubleshooting Common Issues
Microphone not working: Check permissions and try different USB ports
Speech recognition errors: Reduce background noise and speak clearly
Delayed responses: Optimize your code or use more powerful hardware
Conclusion
Now you know How To Make A Talking Robot At Home Easy! This project combines the excitement of robotics with the power of AI speech technology. Whether you're building a simple voice assistant or an animated companion, the possibilities are endless. Remember, every expert was once a beginner - your first talking robot might be simple, but it's the first step toward more advanced creations!