Imagine a robot that chats with you, answers questions, and even cracks jokes—all built by you! A Talking Robot Project brings artificial intelligence (AI) to life, blending creativity with cutting-edge tech. This guide unlocks the process, offering a unique, hands-on approach to crafting your conversational companion. Whether you're a hobbyist or a tech enthusiast, this step-by-step tutorial delivers everything you need to create a robot that speaks, listens, and learns, without overwhelming you with jargon.
Why Start a Talking Robot Project?
A Talking Robot Project is more than a fun DIY endeavor—it’s a gateway to understanding AI, robotics, and natural language processing (NLP). Unlike static robots, a talking robot engages users through voice interaction, making it ideal for learning, entertainment, or even home automation. By building one, you’ll master skills like coding, hardware integration, and AI model training, all while creating something uniquely yours.
Key Components for Your Talking Robot Project
Before diving in, let’s break down the essential components. A Talking Robot Project requires both hardware and software to function seamlessly.
Hardware Requirements
Microcontroller: A Raspberry Pi 4 or Arduino for processing.
Microphone and Speaker: For voice input and output (e.g., USB microphone and Bluetooth speaker).
Sensors: Optional for environmental interaction (e.g., motion or proximity sensors).
Power Supply: A reliable battery or adapter for continuous operation.
Software Requirements
Programming Language: Python for its versatility and AI libraries.
Speech Recognition: Libraries like SpeechRecognition or Google Cloud Speech-to-Text.
Text-to-Speech: Tools like pyttsx3 or Google Text-to-Speech.
NLP Framework: Use Dialogflow or Rasa for conversational AI.
Step-by-Step Guide to Building Your Talking Robot Project
Follow these detailed steps to bring your Talking Robot Project to life. This tutorial assumes basic familiarity with coding and hardware assembly but is beginner-friendly.
Step 1: Set Up Your Hardware
Start by assembling your microcontroller. For a Raspberry Pi, install the latest Raspberry Pi OS. Connect your microphone and speaker, ensuring they’re compatible with your board. Test the audio setup by recording and playing back a short clip. If using sensors, wire them to detect basic inputs like motion or sound, enhancing your robot’s interactivity.
Step 2: Install Software Dependencies
Install Python on your microcontroller. Add speech recognition and text-to-speech libraries via pip:
pip install SpeechRecognition pyttsx3
For advanced NLP, set up Rasa by following its official documentation. Ensure all libraries are compatible with your hardware to avoid performance issues.
Step 3: Develop the Speech Pipeline
Create a Python script to handle voice input and output. Here’s a simplified example:
import speech_recognition as sr
import pyttsx3

recognizer = sr.Recognizer()
engine = pyttsx3.init()

def listen():
    with sr.Microphone() as source:
        audio = recognizer.listen(source)
        return recognizer.recognize_google(audio)

def speak(text):
    engine.say(text)
    engine.runAndWait()

while True:
    try:
        command = listen()
        if "hello" in command.lower():
            speak("Hi! How can I assist you today?")
    except:
        pass
This script listens for voice commands and responds to basic inputs like “hello.”
Step 4: Integrate Conversational AI
Elevate your Talking Robot Project with an NLP framework. Rasa allows you to train custom intents and responses. For example, train your robot to answer questions about the weather or tell jokes. Use Rasa’s training data format to define intents and responses, then run the server to process user inputs dynamically.
Step 5: Test and Refine
Test your robot in different environments to ensure it understands various accents and background noises. Fine-tune the speech recognition model by adjusting sensitivity settings. Add personality by scripting unique responses, like humorous quips or personalized greetings.
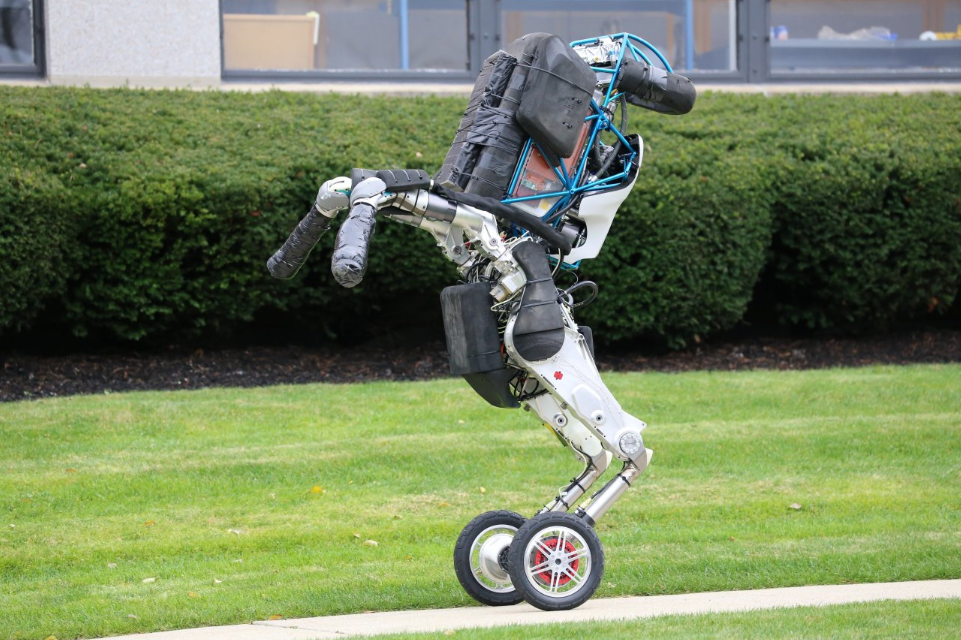
From Sci-Fi to Reality: The Talking Robot Dogs
Unique Features to Make Your Talking Robot Project Stand Out
Go beyond basics with these innovative ideas:
Emotion Detection: Use AI to analyze tone and respond empathetically.
Multilingual Support: Integrate translation APIs for global conversations.
Custom Voice: Train a unique voice model using tools like Mozilla’s TTS.
These features make your Talking Robot Project not just functional but memorable, setting it apart from generic builds.
Challenges and Solutions
Building a Talking Robot Project isn’t without hurdles. Common challenges include poor speech recognition in noisy environments and high hardware costs. Solutions include using noise-canceling microphones and opting for affordable components like Raspberry Pi Zero. Regular software updates and community forums can also help troubleshoot issues.
Frequently Asked Questions
What is a Talking Robot Project?
A Talking Robot Project involves creating a robot that uses AI to process and respond to voice commands, combining hardware like microcontrollers with software for speech recognition and text-to-speech.
Do I need advanced coding skills for a Talking Robot Project?
No, basic Python knowledge is enough to start. Libraries like SpeechRecognition simplify the process, and frameworks like Rasa offer beginner-friendly tutorials.
How much does a Talking Robot Project cost?
Costs vary, but a basic setup with a Raspberry Pi, microphone, and speaker can start at $50-$100. Using open-source software keeps expenses low.
Can my Talking Robot Project learn over time?
Yes, by integrating machine learning models like Rasa, your robot can improve its responses based on user interactions, becoming smarter with each conversation.