??? Core Features of Photoroom AI
1. Automatic Background Removal
Photoroom's automatic background removal tool is a game - changer. It uses AI to accurately identify the subject in an image and separate it from the background. This is especially useful for photographers who want to quickly change the background of a photo without spending hours on manual masking. For example, in e - commerce, product photos can be easily separated from their original backgrounds and placed on clean white or custom backgrounds to enhance the product's presentation.
2. Object Retouching and Removal
The Magic Retouch tool allows users to effortlessly remove unwanted objects from photos. Whether it's a stray hair, a blemish on a person's face, or a distracting element in a landscape photo, the tool can handle it with ease. It uses AI to blend the surrounding areas seamlessly, ensuring that the edited photo looks natural.
3. Batch Processing
Batch processing is a powerful feature for those who need to edit multiple photos at once. Photoroom AI allows users to apply the same edits to a batch of images, saving a significant amount of time. This is ideal for photographers, social media managers, or anyone working on projects that require a large number of photos to be processed.
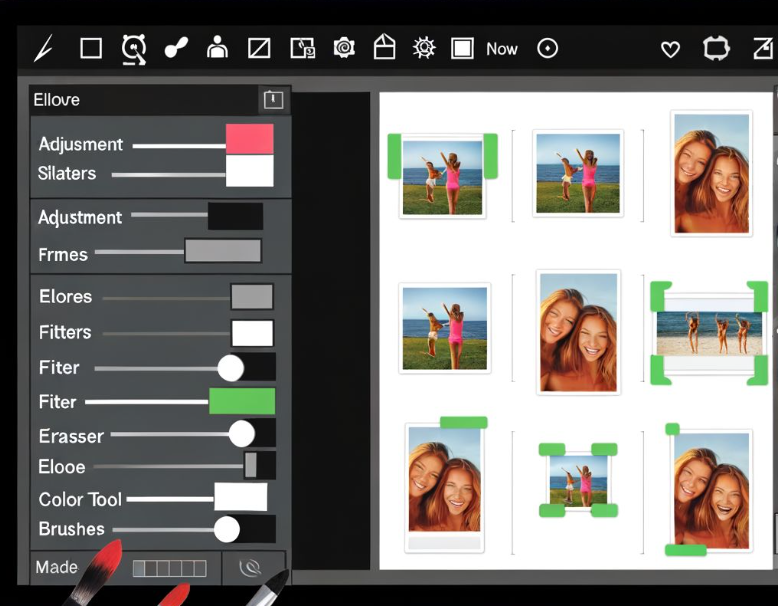
4. Advanced Editing Tools
In addition to AI - powered features, Photoroom AI also offers traditional editing tools. You can adjust the brightness, contrast, and saturation of your photos using sliders. The layer - based editing option is also available, allowing for non - destructive adjustments. Custom templates can be used to quickly adapt the design of your photos for different social media platforms or projects.
?? Step - by - Step Guide to Deleting Photos with Photoroom AI
Step 1: Upload and Auto - Process
? Launch the Photoroom AI application or access it through the web interface.
? Locate and click on the "Delete Photos" module. This is where the magic of automatic photo deletion begins.
? Upload the images you want to edit. You can either drag and drop the files into the designated area or use the file selection option.
? Once the files are uploaded, Photoroom's AI will start analyzing the images. It uses sophisticated algorithms to detect the subject and separate it from the background. This process may take a few seconds depending on the size and complexity of the images.
? After the auto - processing is complete, you'll see a preview of the edited images with the unwanted elements removed. You can quickly scroll through the thumbnails to check the results.
Step 2: Manual Refinement
? If the auto - processed results are not perfect, don't worry. Photoroom AI provides manual refinement tools.
? Use the eraser tool to remove any residual elements that the AI may have missed. For example, if there are small strands of hair or faint shadows that still remain, you can gently erase them using the eraser.
? The lasso tool is also useful for preserving intricate details. Let's say you're editing a portrait and want to keep the fine details of the hair strands. Use the lasso tool to carefully outline the areas you want to preserve, and the AI will adjust the editing accordingly.
Step 3: Background Replacement
? Once you're satisfied with the manual refinement, it's time to replace the background.
? Photoroom AI offers a wide range of preset backgrounds. You can choose from studio lighting effects, nature scenes, or abstract patterns. Simply click on the background you like, and it will be applied to your photo.
? If the preset backgrounds don't meet your needs, you can upload your own custom image. This is great if you want to use a specific background that is related to your brand or project.
Step 4: Export and Save
? After making all the necessary edits and background replacements, it's time to export the final image.
? Choose the appropriate file format. JPEG is a great choice for web use as it has a relatively small file size and is widely supported. PNG is ideal if you need a transparent background, which is often used for logos or graphics.
? Adjust the resolution settings according to your requirements. For web use, 72dpi is usually sufficient, while for printing, 300dpi is recommended to ensure high - quality output. Then, click on the "Export" button to save your edited photo.

?? Upscaling Images with Photoroom AI: A Comprehensive Guide
Workflow for Image Upscaling
Upload and Select Upscale Factor: Start by uploading the low - resolution image you want to upscale. Once uploaded, you'll be prompted to select the upscale factor. Photoroom AI offers options such as 2x, 4x, or you can choose a custom scaling factor depending on your needs.
Detail Enhancement: After selecting the upscale factor, you can adjust the detail enhancement sliders. These sliders allow you to control the level of sharpness and texture detail in the upscaled image. Increasing the sharpness can make the edges of objects more defined, while enhancing the texture detail can bring out the fine details in textures such as fabric or skin.
AI Refinement: The AI refinement step is where the magic happens. Photoroom AI uses advanced algorithms to analyze the image and intelligently fill in the gaps and details that may be missing in the low - resolution original. This process can significantly improve the overall quality of the image, making it look more natural and vibrant.
Export: Once the upscaling and refinement process is complete, it's time to export the final image. Similar to the photo deletion process, you can choose the file format and resolution settings. Saving the image in WebP format can be a good option as it offers a good balance between file size and quality, which is suitable for web use.
Pro Tip: For vintage photos, the combination of upscaling and the "Restore Colors" filter can work wonders. The "Restore Colors" filter can analyze the color tones in the photo and revive the faded hues, giving the vintage photo a fresh and new look.
?? Pros and Cons of Photoroom AI
| Pros | Cons |
|---|---|
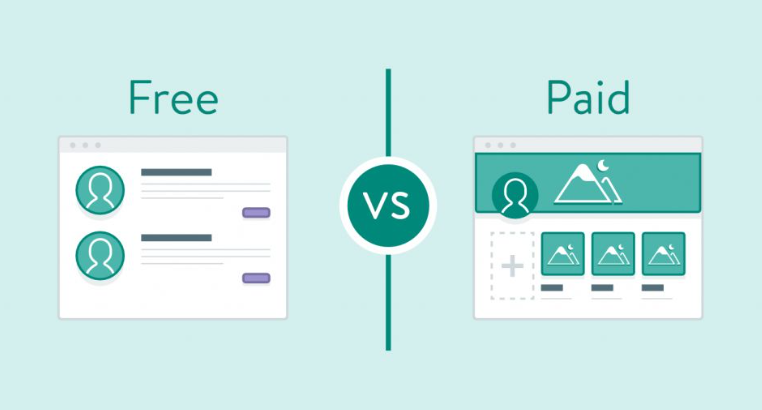
| ?? It offers lightning - fast processing, which can save you a lot of time, especially when working on large - scale projects. | ?? Some of the premium features require a subscription, which may not be suitable for everyone's budget. |
| ?? High accuracy for complex edits, such as separating fine details in an image, making it suitable for professional use. | ?? The functionality of the desktop app may be limited compared to the web - based version, which could be a drawback for those who prefer working on a desktop. |
| ?? Seamless batch workflows, allowing you to process multiple images simultaneously, increasing overall productivity. | ?? The free tier has a cap on the number of monthly edits, which may limit the usage for those who need to make frequent edits. |
? Troubleshooting Common Issues
Problem 1: Blurry Results After Upscaling
? Cause: The original image may be of very low - resolution, and over - processing can lead to a loss of details and result in a blurry image.
? Fix: Use the "Smart Sharpen" tool after upscaling. This tool can enhance the edges and details in the image without introducing excessive noise. Another approach is to try a lower upscale factor and then gradually increase it while monitoring the quality of the image.
Problem 2: Background Removal Errors
? Cause: Complex lighting or textures in the image can sometimes confuse the AI algorithm, leading to errors in background removal. For example, if the lighting is uneven or there are fine details in the background that are similar to the subject, the AI may struggle to separate them accurately.
? Fix: Manually outline the edges with the "Edge Refine" brush. This gives you more control over the editing process and allows you to correct any mistakes made by the AI. You can also try pre - processing the image, such as adjusting the contrast or brightness, to make the subject stand out more clearly from the background.
? FAQs
Q1: Can I upscale GIFs?
A: Currently, Photoroom AI only supports static images for upscaling. GIFs are not supported due to the complex nature of their animation frames.
Q2: How many edits can I do for free?
A: The free plan of Photoroom AI allows for 10 edits per month. This should be sufficient for occasional users or those who are just trying out the service.
Q3: Is there a desktop version?
A: Yes, Photoroom AI has a desktop version available. However, the batch processing functionality on the desktop version may be limited to 5 images compared to the web - based version.