Editing in DaVinci Resolve can be smooth and efficient, but only if you know how to move quickly inside the software. Many beginners spend hours clicking through menus when they could cut their workflow time in half simply by using keyboard shortcuts.
In this tutorial, we’ll explore the best DaVinci Resolve shortcuts that every video editor should know. We’ll cover shortcuts for editing, trimming, color grading, timeline navigation, playback, and exporting. By the end, you’ll not only save time but also edit with the confidence of a professional.

Why DaVinci Resolve Shortcuts Matter
According to Blackmagic Design, the average editor spends nearly 40% of their editing session performing repetitive tasks such as cutting, trimming, and navigating the timeline. Keyboard shortcuts drastically reduce those actions.
For example:
A simple cut takes one click + two mouse movements. With a shortcut, it’s a single key press.
Over the course of a 30-minute edit, shortcuts can save more than 20 minutes of unnecessary clicks.
If you’re serious about video editing—whether for YouTube, client work, or filmmaking—mastering shortcuts is a must.
General Workflow Shortcuts
These are the backbone of working inside Resolve:
New Timeline: Ctrl+N (Windows) / Command+N (Mac)
Save Project: Ctrl+S / Command+S
Undo: Ctrl+Z / Command+Z
Redo: Ctrl+Shift+Z / Command+Shift+Z
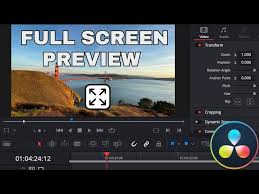
Full-Screen Playback: Ctrl+F / Command+F
Split Clip: Ctrl+\ / Command+\
The split clip shortcut alone is a game changer. Instead of dragging the blade tool from the toolbar, one keystroke makes a precise cut instantly.
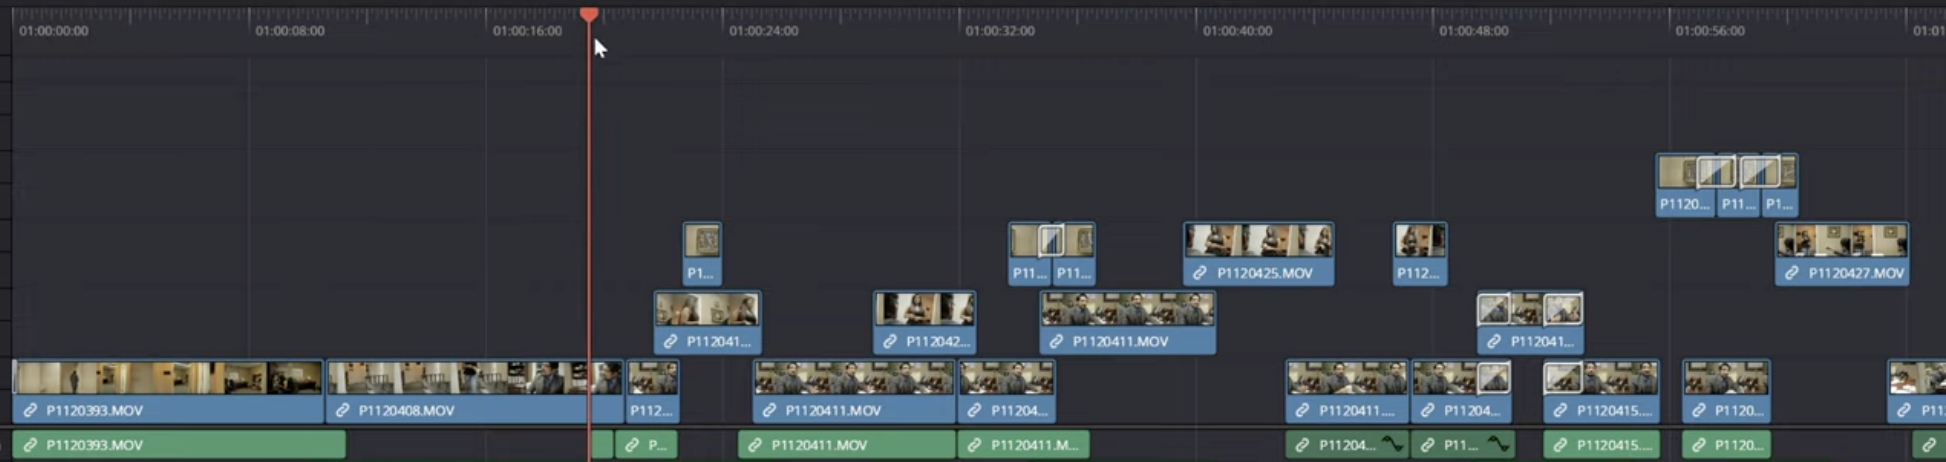
Timeline Navigation Shortcuts
Moving quickly through your timeline is essential when working with long projects.
Go to Start of Timeline: Home
Go to End of Timeline: End
Jump One Frame Back: Left Arrow
Jump One Frame Forward: Right Arrow
Jump One Second Back: Shift+Left Arrow
Jump One Second Forward: Shift+Right Arrow
Zoom In on Timeline: Ctrl+Plus / Command+Plus
Zoom Out on Timeline: Ctrl+Minus / Command+Minus
When editing a 15-minute YouTube video, using these navigation shortcuts can save hundreds of small movements across the timeline.
Editing and Trimming Shortcuts
For precision editing, trimming shortcuts are among the most valuable.
Ripple Trim Start: Shift+[
Ripple Trim End: Shift+]
Extend Edit: E
Trim Edit Mode: T
Slip Clip Content: Y
Roll Edit Mode: R
Ripple trims automatically close gaps when you shorten or extend clips, eliminating the need to drag clips manually. Professional editors cite ripple trims as the single biggest shortcut to speed.
Playback Control Shortcuts
DaVinci Resolve offers familiar playback controls but with more precision than standard video players.
Play/Pause: Spacebar
Play Forward: L (press multiple times to increase speed)
Play Reverse: J (press multiple times to increase speed)
Stop: K
Loop Playback: Ctrl+/ (Windows) / Command+/ (Mac)
These controls mirror traditional nonlinear editing systems, making Resolve feel intuitive if you’ve used Avid or Premiere Pro.
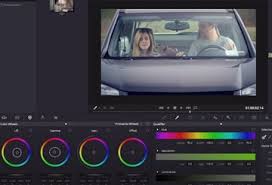
Color Grading Shortcuts
DaVinci Resolve is famous for color grading, and shortcuts here save enormous time.
Switch to Color Page: Shift+6
Bypass Color Grade: Ctrl+D / Command+D
Add Node: Alt+S / Option+S
Add Serial Node: Alt+Shift+S / Option+Shift+S
Add Parallel Node: Alt+P / Option+P
Toggle Viewer Modes: Ctrl+F / Command+F
For colorists, nodes are everything. Quickly adding nodes via Alt+S instead of right-clicking saves minutes per grade.
Audio Editing Shortcuts
Editing sound in Fairlight is just as important as working with visuals.
Switch to Fairlight Page: Shift+7
Adjust Clip Volume: Alt+Drag
Mute Track: Ctrl+Shift+M / Command+Shift+M
Add Audio Track: Alt+Shift+A
Solo Track: S
These shortcuts give you hands-on speed when balancing sound levels or isolating tracks.
Export and Delivery Shortcuts
Once your video is complete, shortcuts can also speed up the delivery process.
Switch to Deliver Page: Shift+8
Add to Render Queue: Ctrl+Shift+Q / Command+Shift+Q
Start Render: Ctrl+Enter / Command+Enter
For editors working on multiple versions of a video (e.g., 1080p and 4K exports), these shortcuts eliminate repetitive clicks.
Customizing Shortcuts
DaVinci Resolve allows full customization of shortcuts:
Go to DaVinci Resolve > Keyboard Customization.
Search for the function you want.
Assign your preferred key combination.
Save your custom layout for future use.
Some editors even mimic Adobe Premiere Pro or Final Cut Pro layouts, making it easier to transition between software.
Real Data: How Much Time Shortcuts Save
A study by Motion Array found that editors using shortcuts completed projects 30–40% faster than those relying on mouse navigation alone. Over the course of one year, this efficiency could save dozens of hours.
For example:
Editing a 10-minute vlog: ~25 minutes faster.
Editing a 30-minute documentary: ~90 minutes faster.
Editing a feature-length project: multiple days saved.
FAQs
Q1: Do DaVinci Resolve shortcuts work the same on Mac and Windows?
Mostly yes, but Mac replaces Ctrl with Command and Alt with Option.
Q2: Can I use DaVinci Resolve shortcuts on the free version?
Absolutely. All shortcut functions are available in both the free and Studio versions.
Q3: Are DaVinci Resolve shortcuts customizable?
Yes, you can fully customize them under Keyboard Customization.
Q4: Should beginners learn all shortcuts immediately?
No. Start with 5–10 essential shortcuts like Split Clip, Ripple Trim, and Play/Pause. Add more as you grow comfortable.
Q5: Is there a printed shortcut guide?
Yes. Blackmagic Design offers a free PDF of all Resolve shortcuts, and you can also purchase printed keyboard covers or shortcut keyboards from brands like LogicKeyboard.
Conclusion
Learning DaVinci Resolve shortcuts is one of the fastest ways to improve your editing speed and efficiency. From basic navigation to advanced color grading and exporting, shortcuts streamline the entire workflow. Start with the essentials, integrate them into your daily editing, and you’ll soon wonder how you ever worked without them.
The more shortcuts you learn, the more DaVinci Resolve feels like an extension of your creative process. And that’s the point: less clicking, more storytelling.